Whenever you hunt down a beautiful whitetail buck, your eyes will be on your trophy, no doubt. And if you share it with your fellow hunters, the first thing you need to answer is what the score is.
For a 130 class whitetail deer or any others like this, you might not know how to score this one. Well, we will discuss the whole method of scoring a 130 class buck and make the moment more enjoyable!
Table of Contents
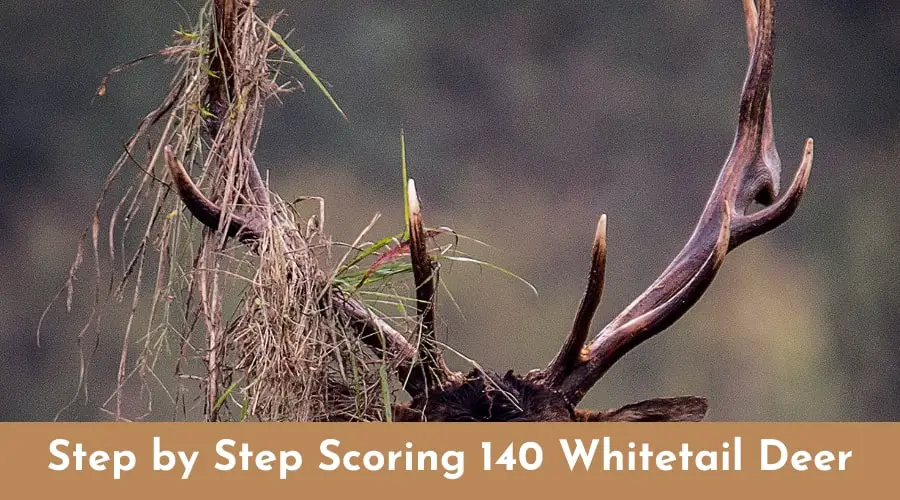
Step by Step Scoring 140 Whitetail Deer
These days, you don’t find many 150 class or 160 class whitetail deer. But it is not uncommon to get your hands on one 130 class buck. Right after you hunt it, here’s how you can score it in the right way!
Step 1
Firstly, you have to go through the spread and measure it. Make sure you have a notebook to record all the measurements you are taking. Now, check out the main beams and find out the widest point. Go for a folding ruler to measure it.
Step 2
Next, you need to measure the tine length. One side is enough in this situation. Go through the base of the tine first and get your hands on a tape. Add it across the tine’s base. Make
sure it is done in a way that the top part of the tape aligns with the top part of the main beam. Go for the tine length measurement now. Start from the top of it tape and go to the antler point.
Step 3
It’s time to count the circumference. Once again, one side is enough. A whitetail rack will have four circumference scores regardless of the number of Tines it has got. Flexible steel tapes can do the measurement perfectly.
Wrap the tape around the main beam first. Then go for the first measurement. Take the tape to the smallest circumference point. It will be between the brow tine and the burr. Next, take the smallest measurement between the tines here.

Step 4
Now, you have to measure the length of the main beam. Go for a flexible cable for the job. Settle for the lowest outside edge of the buck’s burr. Tape the cable to the bean in this position.
Make sure it holds the cable there. Go through the outside contour of the beam now. Take the cable to the end of the main beam. Get an alligator clip and mark the area. Take off the cable now.
Certify that you stretch it alongside any tape measure that is laid on an equal surface. In this way, you can get be the measurement.
Step 5
You have to repeat the same process on the other side now. At times, you will get an evenly matched typical rack too. In that case, you can easily multiply it by two. Or else, go through the process again and note down the measurements.
Step 6
In most situations, you cannot expect a rack to have any abnormal points. So here, we will check the abnormal points too. If you see any tine or any point that has not started from the top part of the main bean, it will be an abnormal point.
Measure them from the main tines first. Then, note them down. If you are counting it as a point, it should be a minimum of 1 inch long. Also, the length will be more than the width.
Step 7
Now, we are done with the tape and measurements! It’s time to add up the numbers. After you have added all the measurements from the previous step 1-5, you will get the green gross score of your buck. If there are any abnormal points, you have to subtract them from the addition.
Wrap Up
No doubt you have learned the right method of scoring the newly hunted buck! All you need is to make sure that you have written down the measurements correctly. Also, it’s important to measure both sides if you want the right score.
But if it is symmetrical, you can always tolerate a little less or more and save your time! Multiply one side and you are done. The method seems confusing and if you are not careful, it gets more complicated!
